How To Master Your Thanksgiving Table Setting In 5 Easy Steps!

If you don’t already have enough on your plate with cleaning the house, double-checking your grocery list, narrowing your guest list down (Hello, Covid), and timing your turkey perfectly so that you have room in your oven for the rest of your dishes, the last thing you want to think about is the “simple” task of setting the table. When it comes to decorating your table for thanksgiving, I like to use cozy, warm tones that compliment autumn colours - I stick with browns/beige, and add a touch of elegance with a bit of gold. Pro-tip: I decorate the table the night before to give some more time to run around on the big day.
Okay, let’s get started!
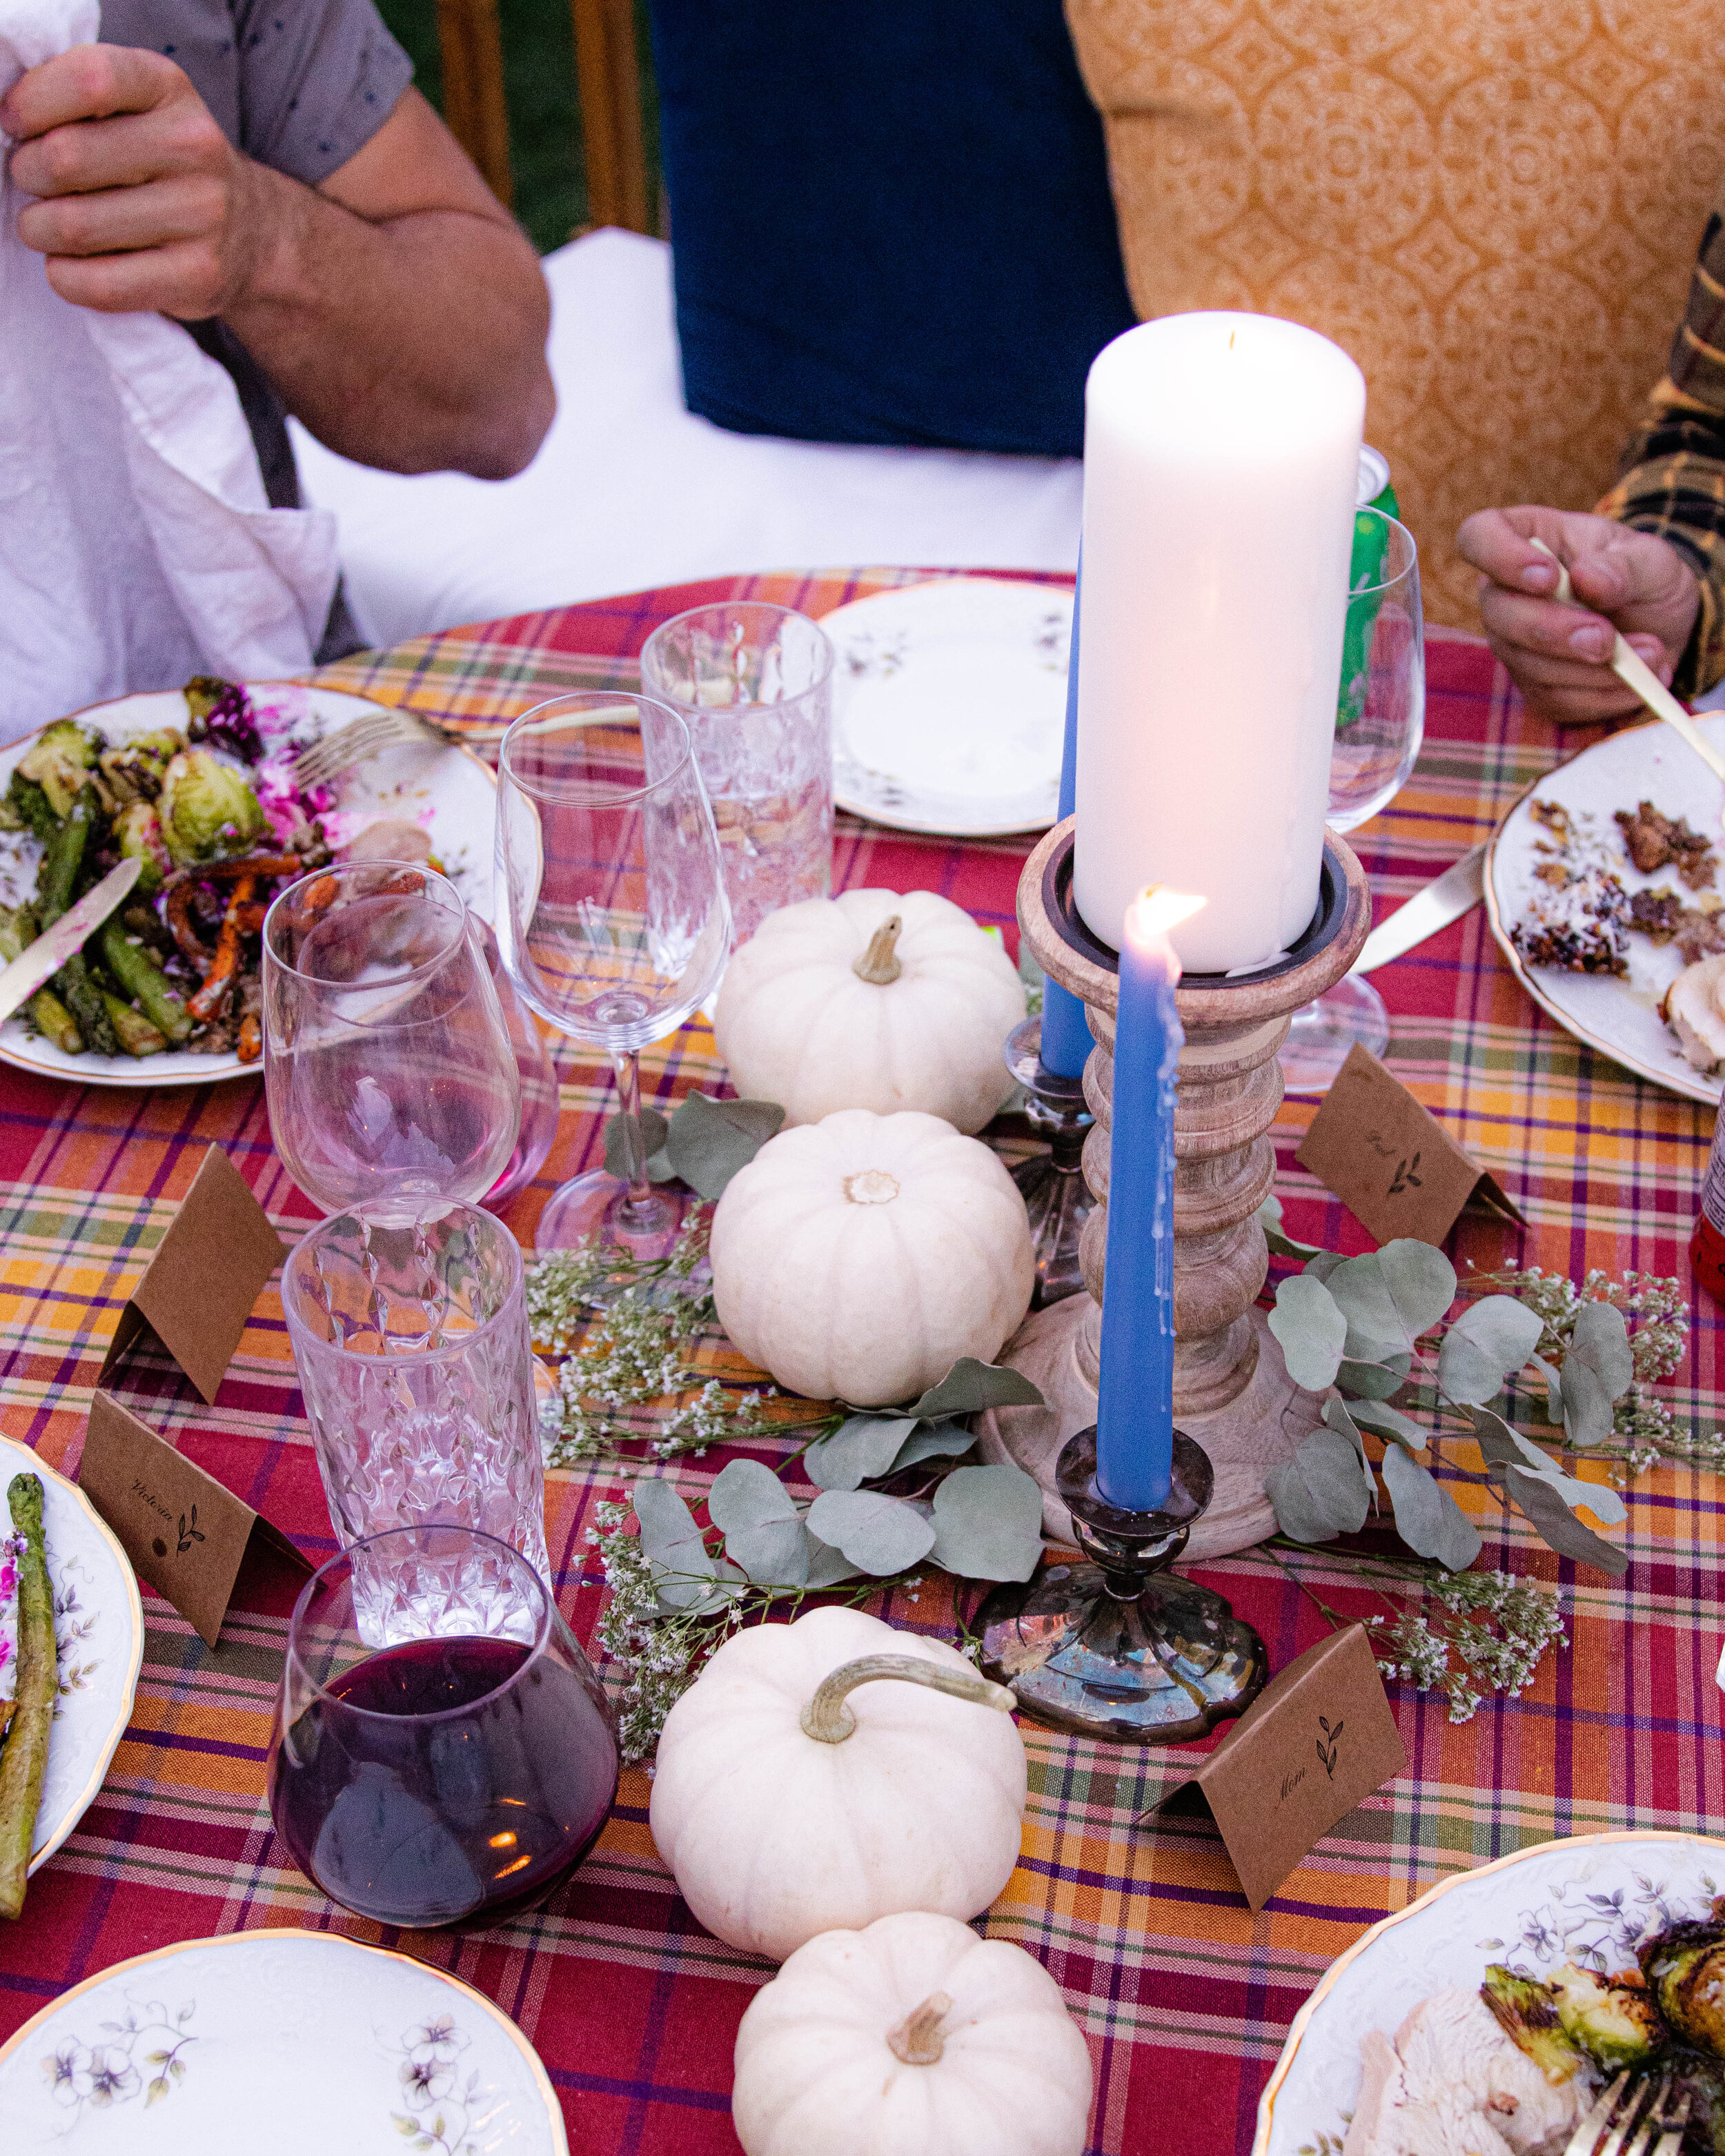
Step 1: Choosing a tablecloth: If you don’t want to go out and buy a new one- white/beige are good neutral colors to start with. If you’re willing to spend a bit, stick to fall colours or simple plaids; I love this printed flannel as it gives my table a little more pop.

Step 2: Set out all your dishes, cutlery, and glasses. It’s important to layer your dishes. I set out my dinner plates first then layer with my dessert plate on top. Placing a napkin vertically underneath the dessert plate (pictured) will add a bit more dimension. Next, set out your cutlery on either side of the plate and then go around making sure everyone has a wine glass/cocktail glass and water drinking glass. In case you need a reminder: Utensils are placed in the “order of use” from farthest from the dinner plate, meaning utensils that are used first are furthest from your plate, and utensils being used last are closest to your plate - also called an "outside-in" order. Forks go to the left of the plate, knives and spoons go to the right. You’re welcome!

Step 3: Candles. In Denmark, it is customary at every dinner to light a few candles and turn the overhead lights down. It is called the “hygge glow”. While I’m not suggesting that the majority of you are Danish, I think it’s a more intimate and ambient experience that can raise your thanksgiving game (and I bet your guests won’t have this at their other dinners!). To really take advantage of this Danish vibe, you can go around your house and mix-and-match your candles. Variation in height is key; it looks natural if some candles will be low, and others high.

Step 4: The greenery makes the scenery! Your table setting will start to come alive when you add some actual living things! I suggest baby’s breath or eucalyptus branches tucked around the plates and candles. It’s simple, but it will make your table feel fresh and whimsical.
Step 5: Adding the finishing touches. I love to add a name placement card and write little notes inside to say why I'm thankful for that person or something I love about them. It adds a personal touch that they will remember - and being thankful is the reason for the season! Also, since it is thanksgiving, I’d be remiss if I didn’t include some basic girl pumpkins. I opted for white to maintain a neutral tone with my already bright tablecloth, but orange pumpkins wouldn’t be out of place!
There you have it! 5 easy steps to master your Thanksgiving table setting!